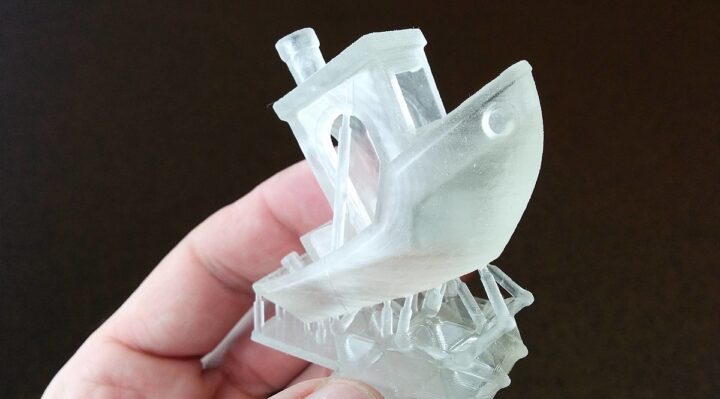
Figuring out how to wash 3D resin prints can be overwhelming, especially if you’re new to 3D printing. However, proper washing is crucial for the quality and longevity of your prints. This guide will offer a comprehensive step-by-step approach to help you successfully wash your 3D resin prints.

Table of Contents
Things You’ll Need
Isopropyl alcohol (IPA) or equivalent cleaning solution
A container for washing
Step 1: Put On Nitrile Gloves
For your safety, it’s essential to wear nitrile gloves before handling resin prints. Resin can be an irritant to the skin, and gloves create a protective barrier.
To put on nitrile gloves, separate one glove at a time from the package, slide your hand in, and adjust for comfort. Ensure that no skin is exposed at the wrists.
Step 2: Prepare the Cleaning Solution
Choosing an appropriate cleaning solution is crucial. Isopropyl Alcohol (IPA) with a concentration of at least 90% is commonly used. Use a measuring jug to pour the cleaning solution into a container.
Make sure to choose a container that is large enough to fully submerge your 3D print without it touching the sides or bottom, to ensure even cleaning.
Step 3: Submerge the Print
Hold the 3D print by its base or an area where you can securely grip it. Slowly lower the print into the cleaning solution until it is fully submerged.
If your print is buoyant, you may need to use a weight to keep it completely under the solution. Make sure the print is not touching the sides or bottom of the container to ensure an even clean.
Step 4: Agitate the Solution
Take a soft-bristle brush, and lightly but firmly brush the surface of the submerged print. Perform this action for about 5 minutes.
The idea is to loosen any uncured resin still clinging to the surface of the 3D print. Be gentle to avoid damaging fine details on the print. Make sure you get into all the nooks, crannies, and undercuts to remove any hidden resin.
Step 5: Check the Print
After agitating the cleaning solution for about 5 minutes, carefully lift the 3D print out of the container. Inspect the surface for any spots where uncured resin may still be present.
Pay particular attention to crevices and undercuts. If you see any areas that need more cleaning, submerge the print back into the solution and repeat Step 4.
Step 6: Remove the Print
Once you’re satisfied that the print is clean, gently lift it out of the cleaning solution. Place the print on a layer of paper towels, which will help absorb any remaining liquid.
Make sure to position the print so that areas where liquid could be trapped are facing downward, allowing the solution to drain off.
Step 7: Air Dry
Allow the print to sit in a well-ventilated area for at least an hour to air dry. Make sure it’s placed on a non-abrasive surface to avoid damaging the print. Drying time may vary based on the size and complexity of the print.
Once the print is dry to the touch, you can proceed with any additional post-processing techniques, such as sanding or painting.
For more articles on how to wash, click here: How to Wash: Your Comprehensive Guide to Clothing and Fashion Care
Conclusion: How to Wash 3D Resin Prints
Washing your 3D resin prints is an indispensable step in achieving the high-quality finish that makes resin printing so appealing. While it may initially seem like a daunting task, the washing process becomes straightforward when broken down into manageable steps.