If you’re wondering how to wash athletic shoes in the washer without damaging them, you’ve come to the right place. This article will guide you through each detailed step to ensure a safe and effective cleaning process.
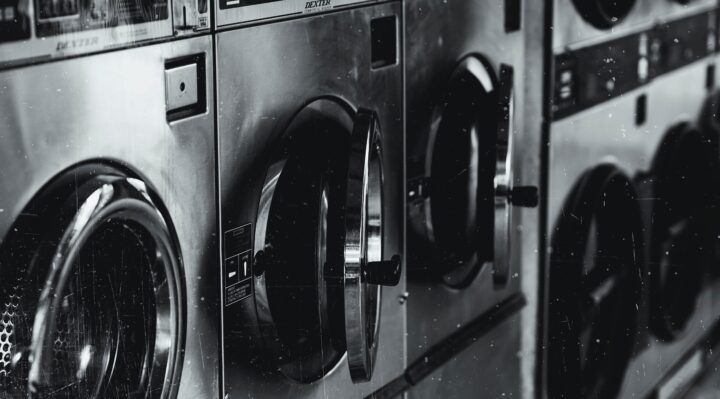
Table of Contents
Step 1: Gather All Necessary Supplies
Before you start, make sure you have the following items:
Soft brush or old toothbrush
Laundry bag or pillowcase
Towels
Step 2: Remove Excess Dirt
Here’s what you’ll need to do…
Unlace and Remove Insoles
Start by unlacing your athletic shoes and taking out the insoles. Keeping them in might prevent a thorough clean and may trap dirt or debris. Store them separately as we’ll clean them manually later on.
Brush Off Surface Dirt
Take a soft brush or an old toothbrush and gently brush the surface of your shoes to remove any loose dirt, sand, or gravel.
Pay close attention to the soles and any crevices where dirt might hide. This step helps keep your washer clean and ensures it functions efficiently throughout the process.
Wipe with a Damp Cloth
For an even more meticulous clean, wipe down the exteriors with a damp cloth. This can help remove any remaining surface dirt that the brush might have missed.
Why It Matters
Removing excess dirt is not just beneficial for your shoes, but also for your washing machine. Excessive grime can clog your machine or attach to other garments, reducing the machine’s efficacy and potentially damaging it over time.
Step 3: Pre-Treat Stains
Follow these steps…
Identify the Stains
Examine your athletic shoes carefully for any stubborn stains. This could be mud, grass, or even synthetic materials from tracks or courts. Identifying them helps you know how much detergent you might need.
Apply Detergent to Stains
Place a small amount of mild liquid detergent onto an old toothbrush or soft cloth. Gently scrub the stained areas in circular motions. For really stubborn stains, you can let the detergent sit for about 5-10 minutes before scrubbing.
Consider a Stain Remover
If your shoes have exceptionally tough stains, you might consider using a fabric stain remover. Make sure to read the manufacturer’s guidelines on your athletic shoes to ensure that the material can handle stain removers.
Rinse with Cold Water
After treating the stains, give them a quick rinse with cold water to remove excess detergent. This preps them for a more thorough washing.
Step 4: Prepare Your Washer
Here are the steps you’ll need to take…
Set the Washer Cycle
It’s crucial to set your washing machine to the right settings to prevent damaging your shoes. Select the ‘Gentle’ or ‘Delicate’ cycle on your machine to ensure a less vigorous wash. Also, opt for cold water settings to preserve the color and material of your athletic shoes.
Add Detergent
Pour a small amount of mild liquid detergent into the detergent compartment. Avoid using bleach or fabric softeners, as these can be too harsh for athletic shoes.
Insert Towels
To balance the machine and offer some additional padding to your shoes during the washing process, add some old towels into the washer. This protects both the machine and your shoes from any imbalances or banging during the cycle.
Double-Check Everything
Before starting the washer, double-check all settings, and make sure your shoes are safely tucked in a laundry bag or pillowcase. It’s always good to confirm everything to avoid any mishaps.
Step 5: Place Your Shoes in the Washer
Do the following…
Use a Laundry Bag or Pillowcase
To protect both your athletic shoes and your washing machine, place your shoes in a laundry bag specifically designed for shoes or a pillowcase. This added layer prevents the shoes from tumbling around violently, reducing wear and tear.
Position the Bag Correctly
Once the shoes are in the laundry bag or pillowcase, put them in the washing machine. Try to place the bag on the opposite side of the towels you inserted earlier. This further aids in balancing the load and ensures a more consistent wash.
Zip or Knot the Bag
Before moving on, make sure to zip up the laundry bag or tightly knot the pillowcase to prevent your shoes from coming out during the wash cycle.
Double-check the Washer Settings
As a final precautionary measure, double-check that the washer is set to a gentle cycle with cold water. Confirm that you’ve also added the proper amount of detergent.
Step 6: Start the Wash Cycle
Here’s how to handle the wash cycle…
Initiating the Cycle
Once everything is in place, go ahead and start the washer. Allow it to complete the entire gentle cycle to ensure your athletic shoes are adequately cleaned.
Monitoring the Cycle
It may be beneficial to stay nearby while the washer is running. That way, if you hear any loud thumping or irregular sounds, you can pause the machine and re-balance the load.
Inspect Your Shoes
After the cycle is finished, remove your shoes from the laundry bag or pillowcase and inspect them carefully. Make sure there is no remaining dirt or stains and that the shoes have maintained their shape.
Step 7: Air Dry Your Shoes
Here’s how to dry your shoes…
Choose the Right Spot
Select a well-ventilated area to air dry your shoes. Keep them away from direct sunlight and heat sources like radiators or heaters, as these can warp the shoe material.
Use Newspaper for Shape
Crumple up some newspaper and place it inside each shoe. The newspaper will help absorb any remaining moisture and help your shoes retain their shape during the drying process.
Optional: Use a Fan
For quicker drying, you may place a fan near the shoes to improve air circulation. Make sure the fan isn’t set to a high speed that could knock over the shoes; a gentle breeze is sufficient.
Check for Complete Dryness
Before wearing your athletic shoes again, ensure they are completely dry. Depending on the material and the conditions in which they’re drying, this could take anywhere from several hours to a full day.
For more articles on how to wash, click here: How to Wash: Your Comprehensive Guide to Clothing and Fashion Care
Conclusion: How to Wash Athletic Shoes in the Washer
Now that you know how to wash athletic shoes in the washer, you can enjoy fresh and clean footwear without any hassle. Follow these steps carefully to ensure the longevity of your athletic shoes.