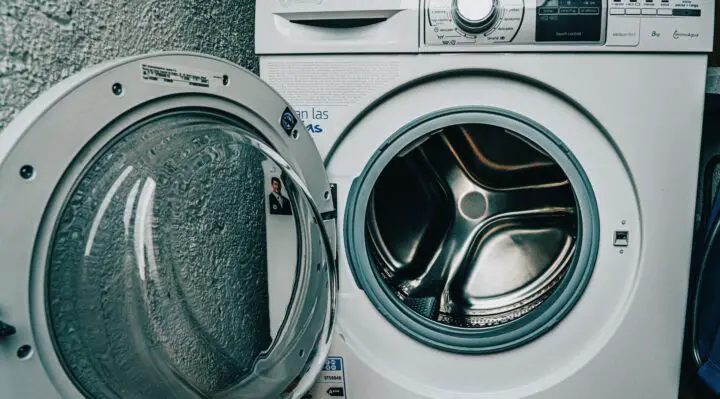
If your KitchenAid washing machine is not draining, you’ve come to the right place. This detailed guide explains the causes of this issue and gives you steps to resolve them…

Table of Contents
KitchenAid Washing Machine Is Not Draining — Solved
If your KitchenAid washing machine is not draining, the following are issues to look for…
1. Clogged Pump Filter (Front Loaders)
If your KitchenAid washing machine is not draining, the first thing to do is clean the pump filter. Follow the steps below to do this…
Step 1. In order to prevent any chances of electrocution, ensure that you disconnect your machine from the outlet before starting this procedure.
Step 2. Using a Torx screwdriver, take out the bolts at the bottom of the lower front access panel. Pry the panel off the cabinet and set it set it aside.
Step 3. Place a contained underneath the emergency drain tube next to the pump filter. Pull the cap off the tube, then drain out any water stuck in the machine into the container.
Step 4. Once all the water has drained out, put the hose’s cap back on. Rotate the pump filter knob, then pull it out. Take the filter to a sink, then clean out any debris and dirt that may have accumulated.
Step 5. Once the filter is clean, put it back into the housing. Snap the lower front access panel onto the cabinet, then apply the bolts at the bottom using your Torx screwdriver.
Step 6. Plug your washing machine back into the power outlet, then try running a wash cycle to ensure that the issue has been fixed.
Check out these other articles…
Kenmore Washing Machine Is Not Spinning [7 Solutions]
Kenmore Washing Machine Door [4 Problems & Quick Solutions]
Kenmore Washing Machine Is Shaking Violently [How To Fix]
Kenmore Washing Machine Smells [Solutions]
Kenmore Washing Machine Is Overflowing [2 Causes & Proven Solutions]
2. Damaged Drain Pump
If cleaning the pump filter didn’t fix this issue, it indicates that the drain pump has failed. Follow the steps below to replace this part…
Front Loaders
Take the following steps to replace a damaged pump in your front loader KitchenAid washing machine…
Step 1. In order to prevent any chances of electrocution, ensure that your machine is disconnected from the outlet before starting this repair.
Step 2. Using a Torx screwdriver or a 1/4 inch nut-driver, take out the bolts securing the lower front access panel. Pry the panel off the cabinet and set it aside.
Step 3. Place a container underneath the emergency drain tube. Pull the cap off the tube, then drain out any water stuck in the machine.
Step 4. Once you’ve drained out all the water, put the hose’s cap back on. Pry the cap off the pump, then disconnect the wire harness.
Step 5. Using pliers, release the spring clamps securing the sump and outlet hoses to the pump. Detach each hose from the pump (ensure that you keep a rag nearby to clean any leaks).
Step 6. Using your 1/4 inch nut-driver, loosen the bolts securing the pump assembly to the cabinet. Pull the pump out of the cabinet, then discard it.
Step 7. Prepare your new washing machine drain pump for installation by unpacking it. Install the new pump in the cabinet, then apply the bolts using your 1/4 inch nut-driver.
Step 8. Plug the wire harness into the new pump assembly. Connect the two hoses to the corresponding ports on the pump. Secure the connections by sliding the retaining clamps into place.
Step 9. Snap the lower front access panel onto the cabinet, then apply the bolts using your 1/4 inch nut-driver.
Step 10. Plug your washing machine into the power outlet, then try running a wash cycle to ensure that the issue has been fixed.
Top Loaders
Replace the pump assembly in your top loader KitchenAid washing machine by following the steps below…
Step 1. Prevent leakage and electrocution by disconnecting your appliance from the power outlet and turning the water supply taps off.
Step 2. Using a pair of pliers if needed, disconnect the COLD and HOT water supply hoses from the ports at the back of the machine (ensure that you keep a rag nearby in case water spills).
Step 3. Use your pliers to release the spring clamp securing the drain hose to the port at the back of the cabinet. Detach the hose from the machine.
Step 4. Place some tape on the lid of your washing machine to help secure it. Tip your washing machine forwards carefully, then set it on the floor (have someone assist you if needed).
Step 5. Pry the cover off the pump assembly, then disconnect the wire harness. Use pliers to release the retaining clamp securing the outlet hose to the pump.
Step 6. Disconnect the hose from the pump (keep a rag nearby in case water spills). loosen the bolts securing the pump to the bottom of the tub. Lift the pump off the cabinet and discard it.
Step 7. Prepare the new pump for installation by unpacking it. Place the new pump on the machine, then secure the bolts by applying the 5/16 inch nut-driver.
Step 8. Plug the wire harness into the new pump, then snap the cap on. Connect the outlet hose to the port on the pump, then slide the retaining clamp into place.
Step 9. Carefully lift your washing machine onto its feet. Reconnect the drain hose to the port at the back of the cabinet, then slide the retaining clamp into place.
Step 10. Reconnect the COLD and HOT water supply hoses to the ports at the back of the machine (ensure that each hose is properly attached in order to prevent leaks).
Step 11. Plug your washing machine back into the power outlet, then turn the water supply taps on. Ensure that the issue has been fixed by running a wash cycle.