If your AEG washing machine is not filling, this guide is for you. We’ll be listing the causes of this issue and providing detailed steps on how to fix them…
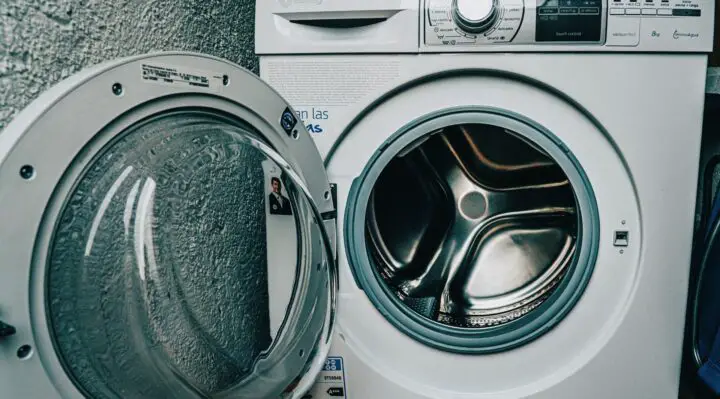
Table of Contents
AEG Washing Machine Is Not Filling With Water — How To Fix
If your AEG washing machine is not filling with water, the following are issues to look for…
1. AEG Washing Machine Is Not Filling With Water — Water Supply Is Off
If your AEG washing machine is not filling with water, the first thing to do is ensure that the water supply is turned on. Go to the back of the cabinet and fully open the COLD and HOT water supply taps.
2. AEG Washing Machine Is Not Filling With Water — Clogged Water Inlet Filters
If the washing machine is not filling even after turning the water taps on, the next thing to do is clean the water inlet filters. Your washer has little mesh filters in the inlet ports at the back of the cabinet. Over time, dirt from the water supply can accumulate in the filters and clog them. Follow the steps below to clean the filters…
Step 1. Disconnect your appliance from the power outlet and turn the water supply off before starting this repair in order to avoid leakage and electrocution.
Step 2. Go to the back of the washing machine, then use pliers to disconnect the HOT and COLD water supply hoses (keep a rag nearby in case water spills).
Step 3. Use needle-nosed pliers to pull out the little mesh filters in the inlet ports. Take the filters to a sink, then clean any accumulated with running water.
Step 4. Once you’ve cleaned the filters, push them into the ports at the back of the machine. Reconnect the COLD and HOT water hoses to the appropriate ports.
Step 5. Turn the water taps back on, then plug your appliance into the electrical outlet. Try running a wash cycle to see if your AEG washing machine is not filling with water.
3. AEG Washing Machine Is Not Filling With Water — Damaged Water Inlet Valve
The water inlet valve controls the flow of water into the drum. If this part fails, your washing machine will not fill. Follow the steps below to replace a damaged water inlet valve in your washing machine…
Step 1. In order to prevent electrocution and leakage, disconnect your appliance from the power outlet and turn the water taps off before starting this procedure.
Step 2. Go to the back of the appliance, then detach the water inlet hoses from the machine (some water may spill out, so keep a rag nearby).
Step 3. Loosen the screws holding the top cover to the cabinet using a Philips screwdriver. Slide the panel backwards a few inches, then lift it off the machine.
Step 4. Use your screwdriver to take out the bolts holding the vibration dampening block to the top of the cabinet. Carefully lift the block off.
Step 5. Loosen the screw holding the retainer to the drain hose. Pull the retainer off the hose and set it aside.
Step 6. Disconnect the power cord’s wire connector and grounding wire at the back of the cabinet. Release the wire retainer using needle-nosed pliers. Use your screwdriver to take out the nuts holding the support rail to the top of the rear panel. Lift the rail off the machine.
Step 7. Loosen the screws securing the rear access panel to the cabinet. Lift the panel off the machine, then support it against the wall of the cabinet (the drain hose will still be attached to the panel).
Step 8. Unplug the wire connectors from the inlet valve assembly connected to the dispenser (ensure that you take note of where each plug goes).
Step 9. Use your Philips screwdriver to loosen the nuts securing the inlet valve to the dispenser. Pull the valve assembly off and discard it.
Step 10. Prepare your new washing machine water inlet valve for installation by unpacking it. Mount the new valve on the dispenser, then tighten the Philips screws to secure it.
Step 11. Plug each wire connector into its appropriate terminal on the new valve assembly. Carefully lift the rear access panel, then mount it onto the cabinet. Secure the panel by tightening the Philips screws.
Step 12. Push the retainer onto the drain hose, then tighten the Philips screw. Place the upper support rail on the rear panel, then apply the bolts.
Step 13. Plug the power cord’s grounding wire and wire harness. Snap the power cord wire retainer back into the upper support rail.
Step 14. Place the vibration dampening block on the drum, then tighten the bolts with your screwdriver.
Step 15. Mount the top cover on the cabinet, then use your Philips screwdriver to apply the nuts at the back.
Step 16. Reattach the HOT and COLD water supply hoses to the corresponding ports. Turn the water taps back on, then plug the power cord into the outlet. To see if your AEG washing machine is not filling, try running a wash cycle.
4. AEG Washing Machine Is Not Filling With Water — Failed Water Pressure Switch
Your washer’s water level switch monitors the level of water in the drum and tells the inlet valve when to turn off. If this part fails, your machine will overfill or not fill at all. Follow the steps below to fix this issue…
Step 1. In order to avoid electrical damage, ensure that your machine is disconnected from the outlet before starting this repair.
Step 2. Go to the back of the cabinet, then use a Philips screwdriver to take out the nuts securing the top panel to the cabinet. Slide the panel backwards about an inch or so, then lift it off the machine.
Step 3. Reach into the cabinet, then unplug the wire connector from the pressure switch (it should be somewhere near the water inlet valve).
Step 4. Use a Philips screwdriver to take out the nut holding the switch to the mounting bracket. Pull the switch out of place.
Step 5. Detach the pressure tube from the switch, then discard the old switch. Prepare the new water pressure switch for installation by unpacking it.
Step 6. Connect the pressure tube to the port on the new switch. Mount the pressure switch on the cabinet, then tighten the nut using a Philips screwdriver.
Step 7. Plug the wire connector into the new pressure switch. Mount the top panel on the cabinet, then slide it into place. Use your screwdriver to apply the bolts at the back of the panel.
Step 8. Plug your washing machine into the power outlet, then try running a wash cycle to see if your AEG washing machine is not filling.
Note: Please keep in mind that some of the steps in this article will be slightly different depending on the model of your washing machine.