If you are having issues with your Maytag washing machine belt, this guide gives you steps on how to replace it…
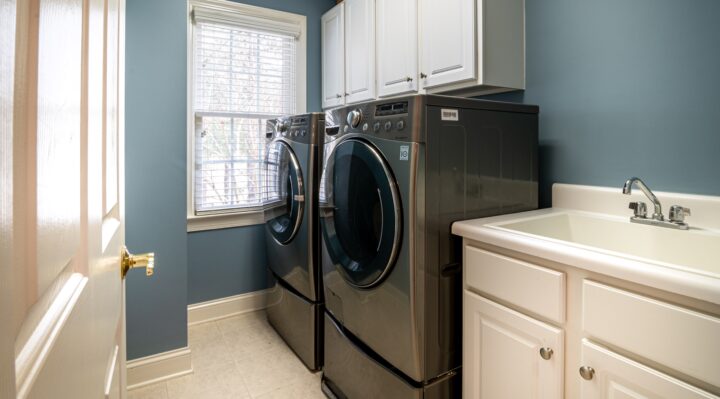
Table of Contents
How To Replace Maytag Washing Machine Belt — Solved
To replace your Maytag washing machine belt, follow the steps below…
Front Loaders
Take the following steps to replace your front loader Maytag washing machine belt…
Step 1. In order to prevent electrical damage or water leaks, it is advised that you disconnect your washing machine from the outlet and turn the water taps off before starting this repair.
Step 2. Pry out the four transit caps on the rear access panel, then set them aside. Using a 1/4 inch nut-driver, take out all the screws holding the rear panel to the cabinet.
Step 3. Lift the rear panel off the machine and set it aside. Rotate the drive pulley slowly, then take the belt off.
Step 4. Discard the old drive belt, then prepare the new one for installation by taking it out of its packaging.
Step 5. With the grooved side turned inwards, loop the new drive belt around the motor pulley and drive pulley.
Step 6. Remount the rear panel on the cabinet, then use your nut-driver to apply the bolts. Snap the four transit bolts caps back into the slots on the rear panel.
Step 7. Plug your washing machine into the electrical outlet, then try running a wash cycle to ensure that everything works properly.
Check out these other articles…
Whirlpool Washing Machine Smells [Proven Solutions]
Maytag Washing Machine Bearings [Problems, Solutions & Guide]
Maytag Washing Machine Is Not Spinning [How To Fix]
Clothes Stuck In A Maytag Washer [How To Fix]
Maytag Washing Machine Agitator [Problems, Solutions & Guide]
Top Loaders
To replace the drive belt in your top loader Maytag washing machine, follow the steps below…
Step 1. Ensure that your washer’s water taps are turned off and the power cord is unplugged from the outlet before starting this repair in order to prevent leaks or electrical damage.
Step 2. Put some tape on the lid of your washing machine to help secure it. Spread a towel underneath the water inlet hoses at the back of the washer in order to catch any leaks.
Step 3. Using a pair of pliers if needed, disconnect the HOT and COLD water supply hoses from the ports at the back of the machine.
Step 4. Pull the drain hose out of your home drain. Carefully tip your washing machine forwards, then lay it on the floor (if needed, have someone assist you).
Step 5. Using a 5/16 inch nut-driver, loosen the bolts holding the belt guard to the bottom of the tub.
Step 6. If still intact, take the drive belt off the transmission pulley and motor pulley. Discard the old belt and take the new one out of its packaging.
Step 7. Loop the new drive belt around the motor pulley and transmission pulley (ensure that the grooved part is turned inwards).
Step 8. Put the belt guard back on, then use your 5/16 inch nut-driver to apply the bolts. Carefully lift your washing machine back onto its feet and peel the tape off the lid.
Step 9. Reinsert the drain hose into the home drain. Reconnect the COLD and HOT water inlet hoses to their appropriate ports at the back of the machine.
Step 10. Turn the water faucets back on, then plug the power cord into the outlet. To make sure everything works properly, try running a wash cycle.
Dryers
Replace the drive belt in your Maytag dryer with the following steps…
Step 1. Ensure that your washing machine is disconnected from the electrical outlet before starting this repair in order to avoid electrocution.
Step 2. Using a 5/16 inch nut-driver, take out the bolts holding the lower access panel to the cabinet. Lift the panel off the machine and set it aside.
Step 3. With your nut-driver, take out the screws at the bottom of the front panel. Lift the front panel off the cabinet. Unplug the door switch wires attached to the front panel (make sure to take note of where each wire goes). Set the front panel aside.
Step 4. Use your nut-driver to loosen the two screws at the front of the cabinet securing the top panel assembly. Lift the top panel and lay it against a wall.
Step 5. Unplug the wires from the light assembly. Pull the wires out of the retainers. With your 5/16 inch nut-driver, loosen then bolts holding the front bulkhead to the cabinet. Carefully lift the bulkhead off and set it aside.
Step 6. Reach underneath the drum carefully. If still intact, unhook the drive belt from the motor pulley and idler pulley. Carefully take the belt off the drum and discard it.
Step 7. Prepare your new drive belt for installation by taking it out of its packaging. Carefully loop the new belt around the drum (ensure that the grooved side is facing inwards).
Step 8. Reach under the drum, then loop the drive belt around the idler pulley and motor pulley in a zig-zag formation.
Step 9. Rotate the drum by hand slowly to help properly align the belt. Lift the front bulkhead and mount it on the cabinet. Secure the bulkhead by applying the bolts using your 5/16 inch nut-driver.
Step 10. Plug the light assembly wires back in, then secure the wires in the retainer. Lower the top panel back onto the cabinet, then tighten the screws at the front using your 5/16 inch nut-driver.
Step 11. Reconnect the wires to the door switch on the front panel. Mount the front panel on the cabinet, then secure it by applying the screws at the bottom using your nut-driver.
Step 12. Snap the lower front access panel onto the machine. With your 5/16 inch nut-driver, apply the two screws at the bottom. Plug your machine into the electrical outlet, then try running a cycle to make sure everything works properly.